
Creating and visualizing customizable products
Modern day e-commerce needs to be very hi-tech to get advantage over the competition. We have quite a lot of examples of e-shops implementing amazing technology to become more attractive to customers. One of these is the ability to customize a product and view a realistic visualization of how it would look like in real life. We have already done something similar for these guys – it includes some 3D rendering, jQuery and CSS. But this time we have to use other tools and materials.
The recipe
Here are the ingredients we have:
- client: students startup
- application: online store
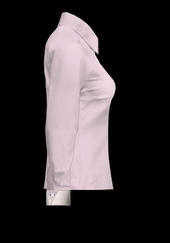
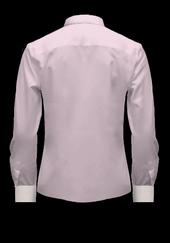
- product: customizable male and female business shirts
- no flash
- budget: limited
- materials: none
- deadline: tight
- expectations: high
So, we have to mix all these and get something delicious in the end.
The online store app
Since the whole site has to be clean and straightforward, we decided it would be best to design it from scratch using CakePHP instead of trying to bend any existing open-source solution. We don’t need all the stuff ZenCart provides but we need that shirt builder which we can hardly implement into any OSS shop.
Raw materials
None. The client didn’t have any materials to provide us with except for some low-resolution, all-messed-up pictures from their shirt-sewing factory. They didn’t have time or budget for 3D modeling (which could prove to be quite fancy and realistic) and we had to
Photoshoot
We hired this fella for the project and I think he did quite well.
The pictures don’t look fancy (to me) but I was amazed what good job they did for us.
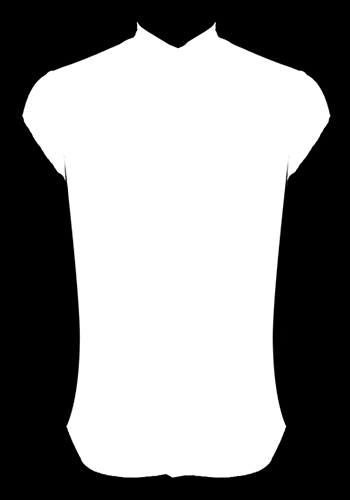
Customizable Product Visualization Technology
For the shirt builder we needed a solution which would allow us to generate images on the server so that we don’t have to create all the gazillion possible visualizations. We had to be able to “apply” all fabrics to all shirt elements ( fit, sleeves, cuffs, etc ). And the client wanted a fast and smooth experience for the end-user with no Flash!
We came up with the idea to create a mask for all shirt elements like in photoshop, use it to “cut out” the fabric in the particular shape and then add another layer which would represent shades and folds.
WideImage was chosen for the server processing part. However, it turned out we were jumping in the dark.
Fabric material
Well, ok, I lied – the client gave us some picture of the fabrics they wanted to use. They were good enough and after some processing we got this
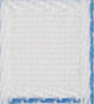
We had to make a canvas and tile that image in there. That was an easy task for WideImage.
We first load the fabric image and resize it on the fly – otherwise it would look too big on the final image. We then create the canvas and fill it with repeating instances of the fabric image – finally, cut out a shirt shape.


But we have a small problem here – we need to add the layer for folds and shades now and with this approach it has to reside in a separate file. That’s not elegant enough…
We came up with the idea to
combine the image mask and folds layer into one file
How to do that? We use the RGB channels of the image to hold the mask and the alpha channel to hold the folds and shades layer. This way we can have just one file to hold all the information we need to generate our image.
Performance
Nothing is as easy as it sounds. WideImage has some wonderful methods like getChannels() to get the RGB and alpha channels into different image resources and applyMask() to cut out the shirt element shape from the fabric-tiled canvas but these come with enormous performance hits. Unfortunately, PHP and GD2 do not offer native functions for these tasks and WideImage uses “for” loops to go through all pixels of the image to do the necessary processing. So, the algorithm goes like that
- go through the image pixel by pixel go get its RGB channels and alpha channels and store them in different image resources (mask and folds layer)
- once again go through the mask image (which has same size) pixel by pixel to cut out the fabric canvas
- apply the folds layer on top of the cut out image
This averaged at 8 seconds on our server for a 350×500 image!
Cache
We decided we could use some caching which would save us troubles – we calculate we would need around 1GB of space for that cache which is not a big deal but 8 seconds is still a monster.
Solution
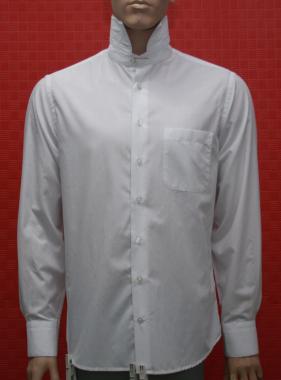
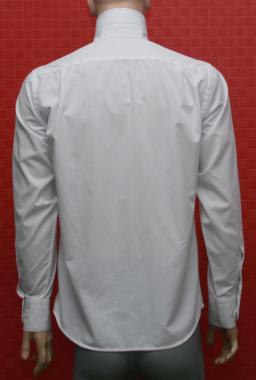
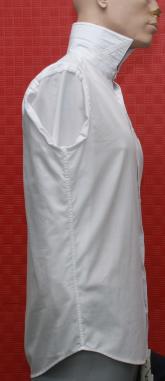
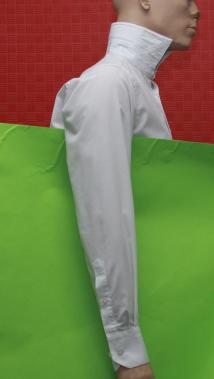
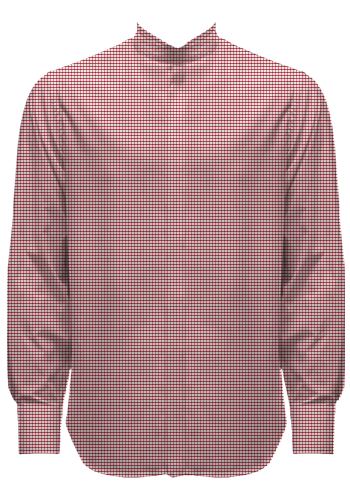
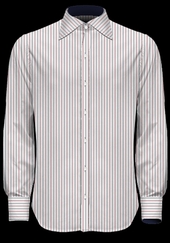
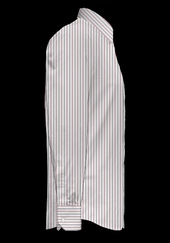
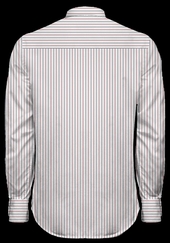
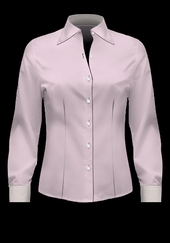
We came up with a solution which was similar to what WideImage does but we now do all the processing in a single for loop which saves quite a lot of time. We managed to keep the figure down to 2-3secs for an uncached image which is bearable. In he end the image looks like that

This is still a work in progress and we need a few more things to enhance, so if you have any suggestions, go ahead and shoot!
Update: We launched the website some time ago. Here are some final images:
Tags: server processing part, e-shops, online store app, shirt builder, day e-commerce, open-source solution, store app Since, PHP, e-commerce, alpha, caching